


How to share a printer between multiple computers
•Those who use numerous PCs at home or at a business may want to share a printer in terms of convenience or cost savings.
•Here we will discuss how to make a printer accessible to numerous computers with the help of using a variety of approaches.
•Before sharing a printer over the network, decide on the configuration you want to utilize.
Different methods :
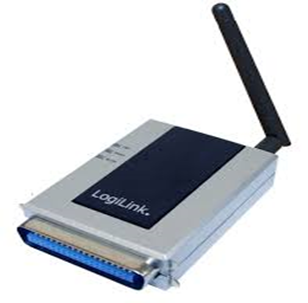
Wireless printer
•In modern times, most printers (especially midrange and high-end ones) can have the potential to connect directly to a user’s network.
•Because they are the easiest to set up and detect, these printers is easy to use.
•The sole disadvantage of this setup is that it necessitates the creation of a wireless network.
•You can install and connect the printer to all of your computer systems once it has been setup and linked to your wireless network.
Dedicated print server
•A print server is a hardware device, which is another option to connect a printer to multiple computers.
•A print server can be used to connect a tiny device to your network that delegates and queues print tasks for numerous workstations.
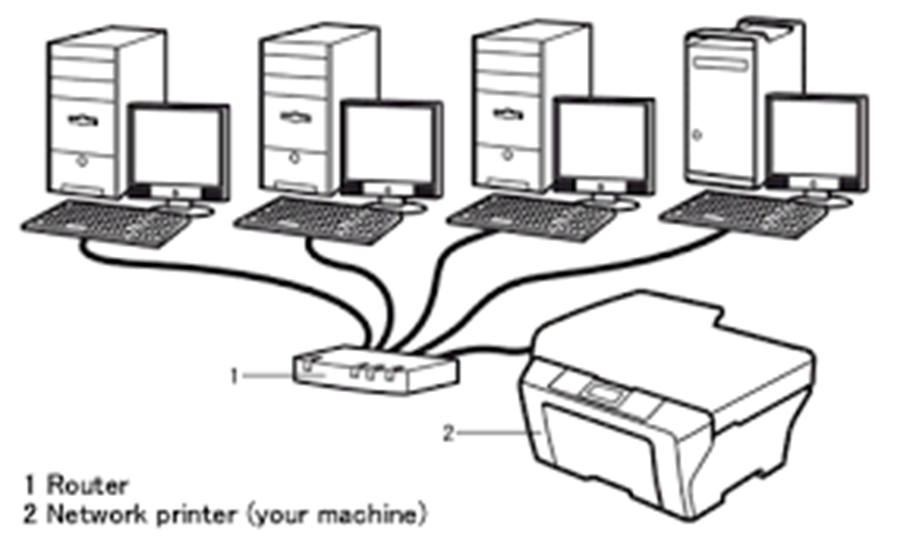
•Print servers allow you to print even if the computer connected to your printer is turned off (network printer configuration), but they are more expensive and take longer to set up.
Printer connected to a computer or server

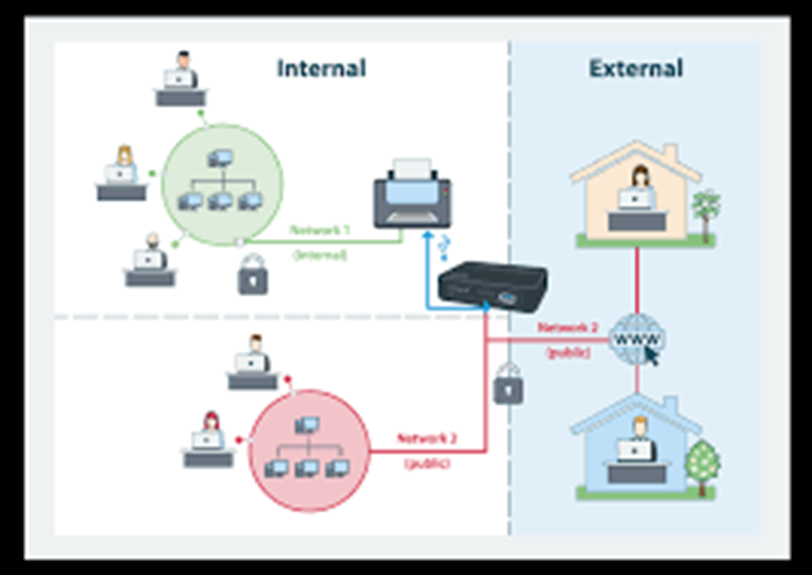
A print server may be a networked computer with one or more shared printers. Alternatively, a print server may be a dedicated device on the network, with connections to the LAN and one or more printers. Dedicated server appliances tend to be fairly simple in both configuration and features.
•Connecting a printer to a host computer is the most common way to share it.
•Because of its simplicity and inexpensive cost, this approach is often used.
•The printer is effectively “shared” by the host computer, allowing other computers on the network to print through a LAN (local area network) or an Internet connection.
•But, in order for other machines to use the printer, this method requires the host computer to be turned on at all times that is the main downside of this method.
•Furthermore, on the host computer, you must have a network and a printer installed in order to print through another networked computer.
Step 1
•Use a switch to turn things on and off.
•A printer switch, which works with both parallel and USB printers, you can purchase this printer switch.
•Connect the switch to both computers and the printer, then set up the printer on each computer as usual.
•Some older parallel printer switches need you, which is used to manually flip a switch to assign one computer to the printer at a time; however, the latest and slightly more expensive switches have the potential to do it automatically.
•For this approach to work, your PCs must be close together.

Step 2
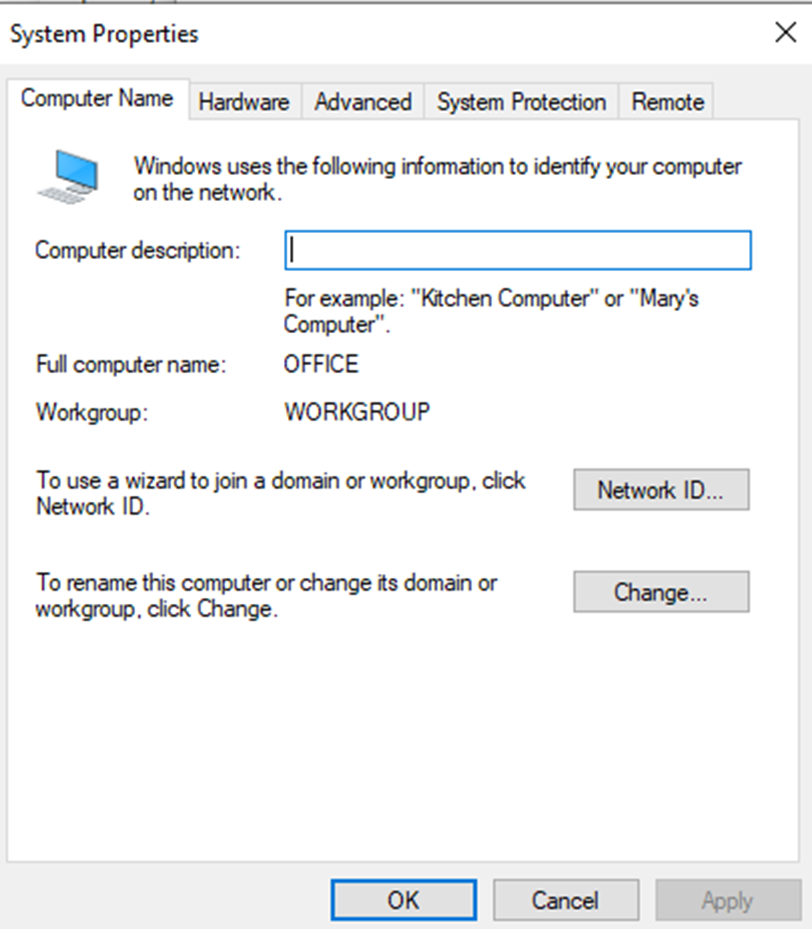
•If you are using Microsoft Windows, you can share your printer.
•On both computers, go to Control Panel, then “System,” and make sure that file and printer sharing is enabled, as well as that systems have the same workgroup name.
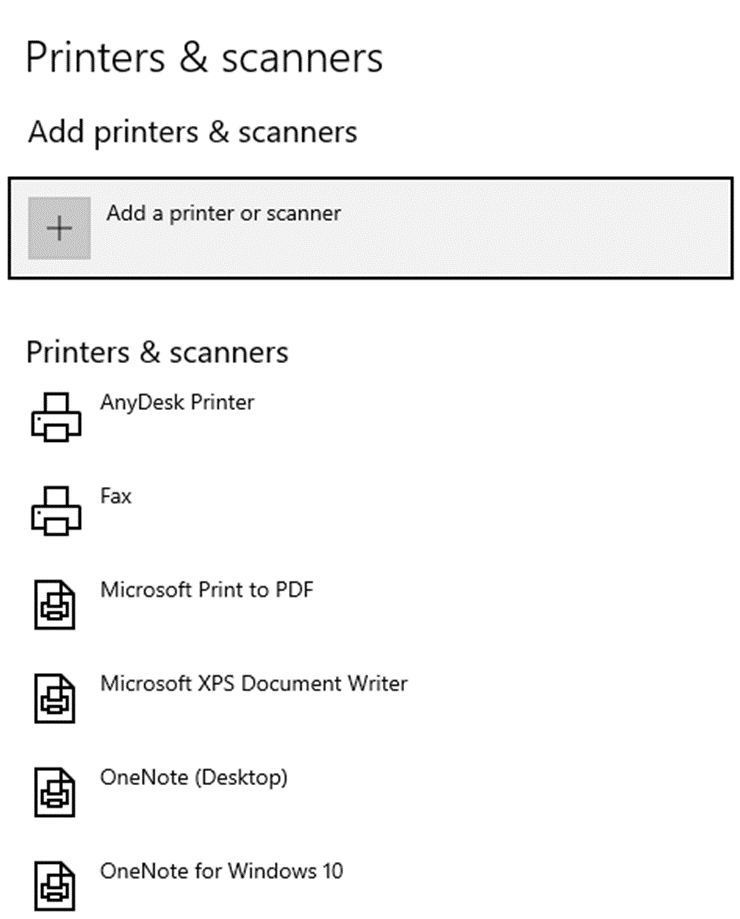
•Now, select “Printers and Faxes” from the Control Panel on the computer to which the printer is already attached.
•Select “Properties” from the drop-down menu when right-clicking on the printer.
•Choose the “Sharing” option, then “Share this Printer” and a name for it.

•Select “Add a Printer” from the “Printers and Faxes” menu on the other computer.
•The alternatives are “Network Printer” or “Printer linked to another computer.”
•The name of the printer you shared on the first computer should display when you select Browse for a Printer.
•Follow the wizard’s instructions to install the printer software on the second computer, and have the printer’s driver CD handy.
Step 3
•Invest in a network printer. A network connection is now available on many low-cost printers.
•All you will need is a router in close proximity to the printer, or a connection to a router in close proximity to the printer.
•Set up and switch on the printer.
•Connect the printer to the router with a network cable, and then provide the IP address in the printer’s settings.
•Simply use the “Add a printer” wizard on each computer and input the IP address you assigned to the printer in the process.